Getting a new computer or mobile device is both exciting and intimidating - but transferring your data to a new device doesn’t have to be a hassle. eM Client gives you a few options for migrating your data from one device to another. Choose between backup and restore, QR export/import, settings saved into a .xml file, or a manual move of the database. Our guide will walk you through the steps for each - so you can continue using eM Client on your new device with ease.
The methods for transferring data vary based on the devices you are using for the transfer. Feel free to skip ahead to the section that best suits your current need:
| Devices |
Which method can be used |
 Desktop
→
Desktop
|
|
Desktop
→
 Mobile
|
|
Mobile
→
Mobile
|
|
Mobile
→
Desktop
|
|
Use Backup & Restore to move your data
These steps work for moving data between any desktop versions - be it from one Windows PC to another, between two macOS devices, or even when moving from Windows to Mac or vice versa.
- On your old device, create a backup:
Windows: Menu > Backup
macOS: File > Backup
- Once finished, move the .zip backup file to a new device - using an external hard drive, flash disk, cloud storage, etc.
Note: You can find out the location of your eM Client backup folder in:
Windows: Menu > Settings > General > Backup
macOS: eM Client > Settings > General > Backup
The default location for the backup files is your Documents folder; the folder named “eM Client” is created the first time you create a backup.
The backup folder can be changed, so if you set it to a cloud drive, for example, you might be able access the backup files with your other device without having to move the file manually.
- Install eM Client on your new device. Ideally, the same version you used on your previous device.
If you need to install a specific older version, find it in our Release history.
- Run eM Client and click Cancel to skip all initial setup, and go straight to importing your backup file:
Windows: Menu > File > Restore
macOS: File > Restore
- Follow the steps to restore the backup file - if you have more than one backup file in the default backup folder, you will see a pop-up window where you can select which one to restore.
If you’re bringing a backup file from another drive or folder, simply instruct eM Client which folder to look into. Keep in mind you are not selecting a file, but the folder where the backup file is located.
QR Export & Import
From a desktop to a mobile device
- Go to Menu > File > Export (Windows) or File > Export (macOS) and select “Export settings via QR code”:
If you want to use the QR export from the eM Client mobile app on another mobile device, head to Settings > Import/Export > Export via QR code. The rest of the process is the same as QR export from desktop to mobile.
- Select the types of settings you wish to export (Settings, Accounts, Account passwords and avatars, Tags, Certificates/Keypairs, Templates, Signatures, QuickTexts, and the local blacklist).
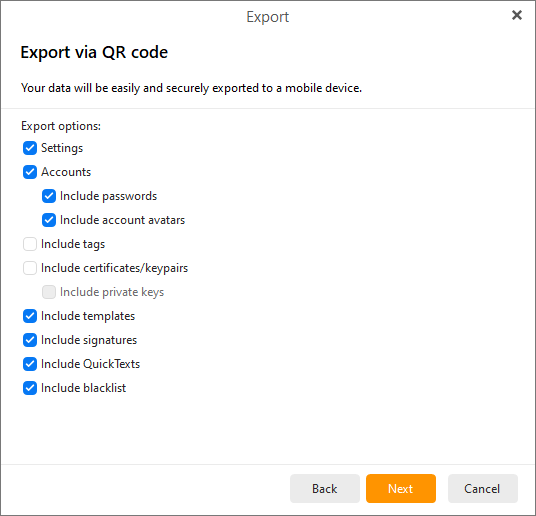 eM Client desktop: Select data for QR export
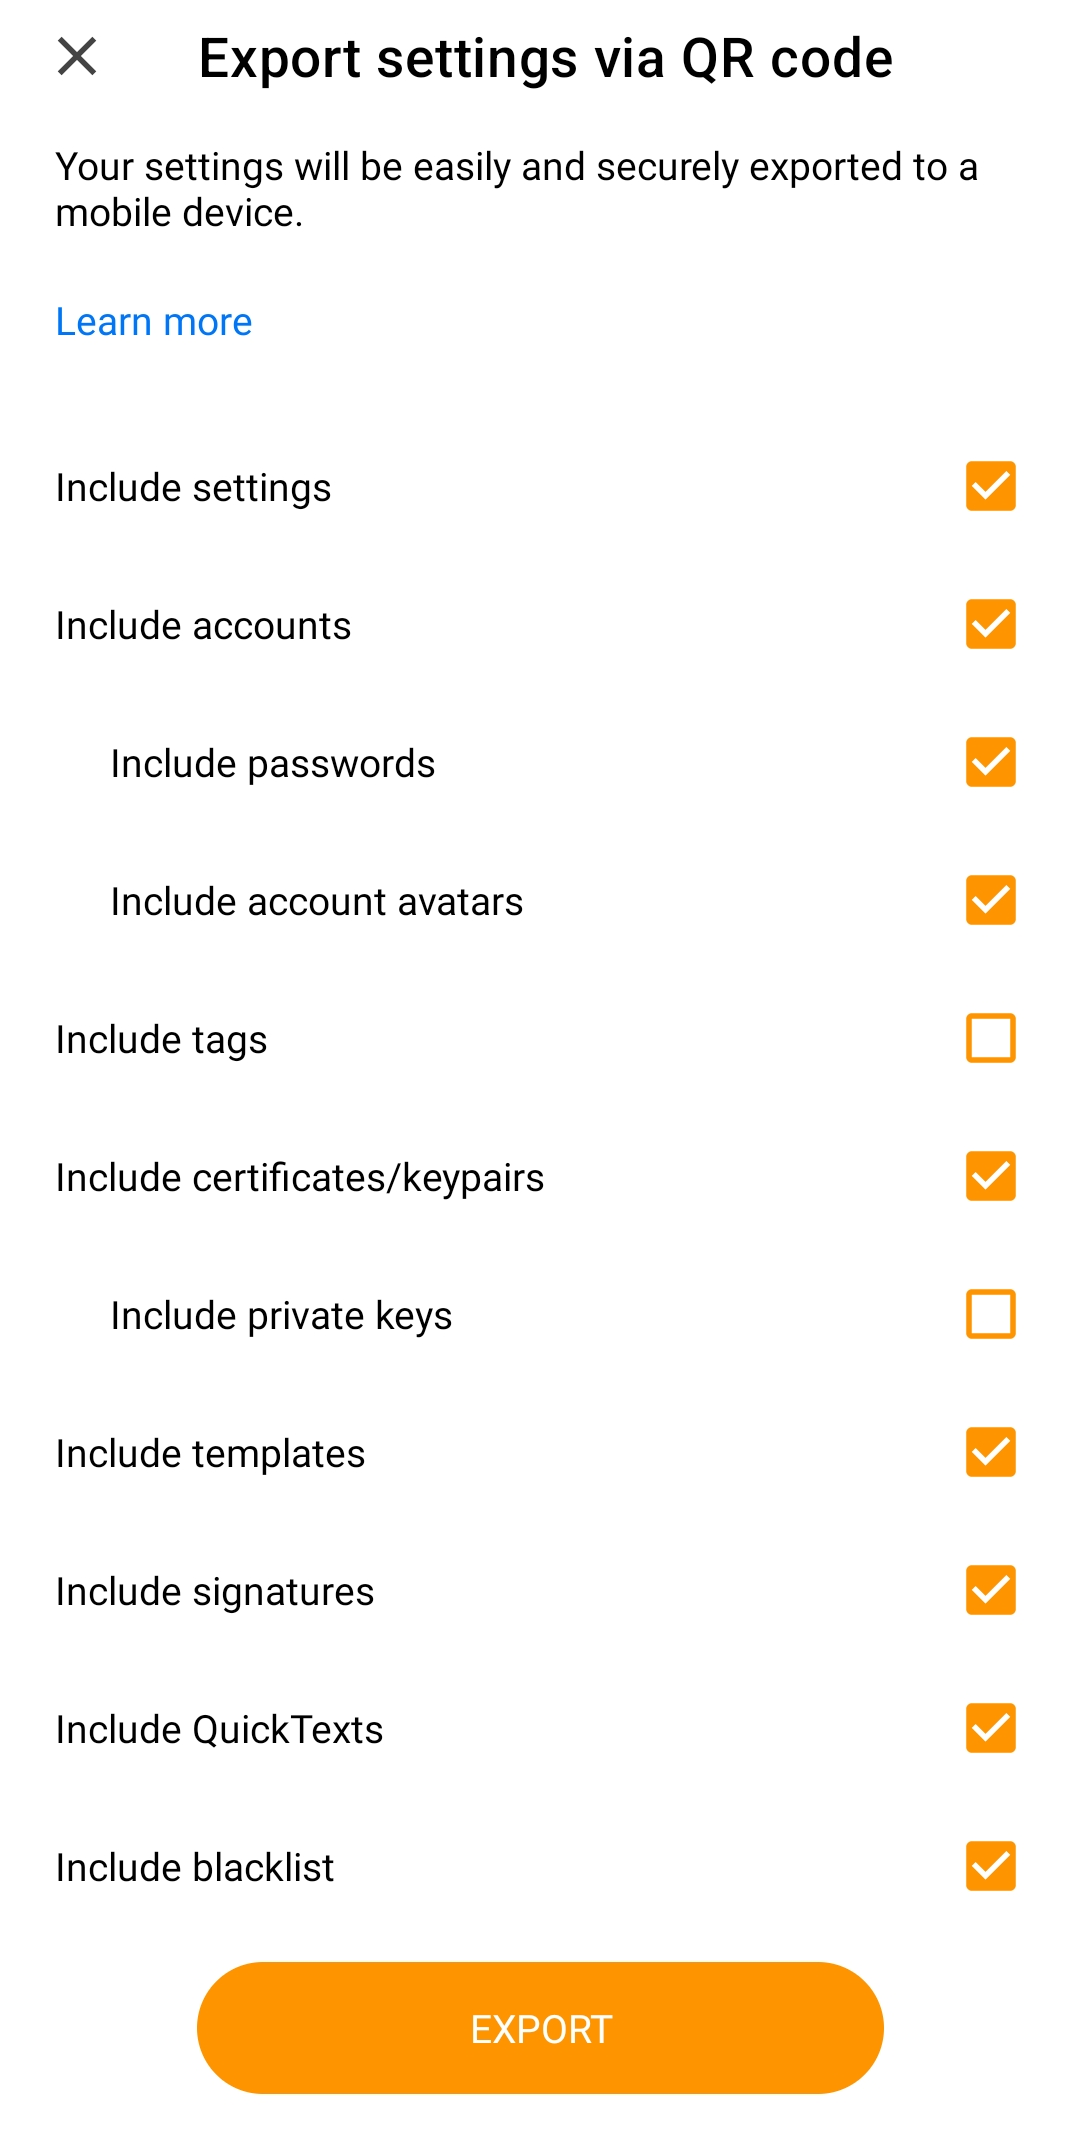 eM Client mobile: Select data for QR export
- Your unique QR code will appear:
- Go to your eM Client mobile app.
- If you’ve just installed the app, simply tap the “Migrate from desktop” button that is visible on the initial screen. Then open the QR code reader by tapping the “Scan QR code” button.
If you already skipped this screen, go to Settings > General > Import/Export and select “Import via QR code”.
- Once the eM Client app QR code reader opens, scan your unique QR code.
Note: Please remember that the import using the unique QR code can only work through the eM Client mobile app, not your camera or other scanner app. Scanning the code with other apps or your device's camera won't work.
- Select which specific accounts or settings you want to import, enable or disable push notifications, and confirm the import:
Export and Import Settings using .xml
Exporting and importing settings via an .xml file can be a useful option for users who need to copy only partial settings to another device or are limited by the size of the file they can bring over. It’s important to note that, unlike a full backup, the .xml file won’t transfer any of your local folders, emails, calendars, and other data. It will only transfer your selected settings. If you only use IMAP and Exchange accounts, it can be enough as these accounts will synchronize everything back from the server.
Export settings to an .xml file
- Go to Menu > File > Export (Windows) or File > Export (macOS) and select “Export settings to .xml file”:
If you’re exporting from the eM Client mobile app, go to Settings > Import / Export > Export settings to file:
- Select the types of settings you wish to export (Settings, Accounts, Account passwords and avatars, Tags, Certificates/Keypairs, Templates, Signatures, QuickTexts, and the local blacklist).
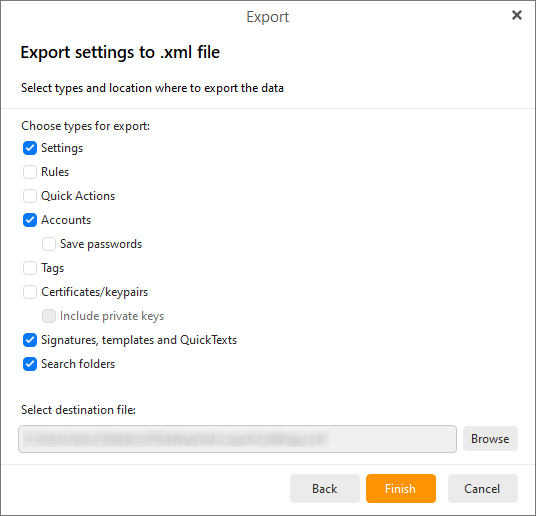 eM Client desktop: Select settings for .xml export
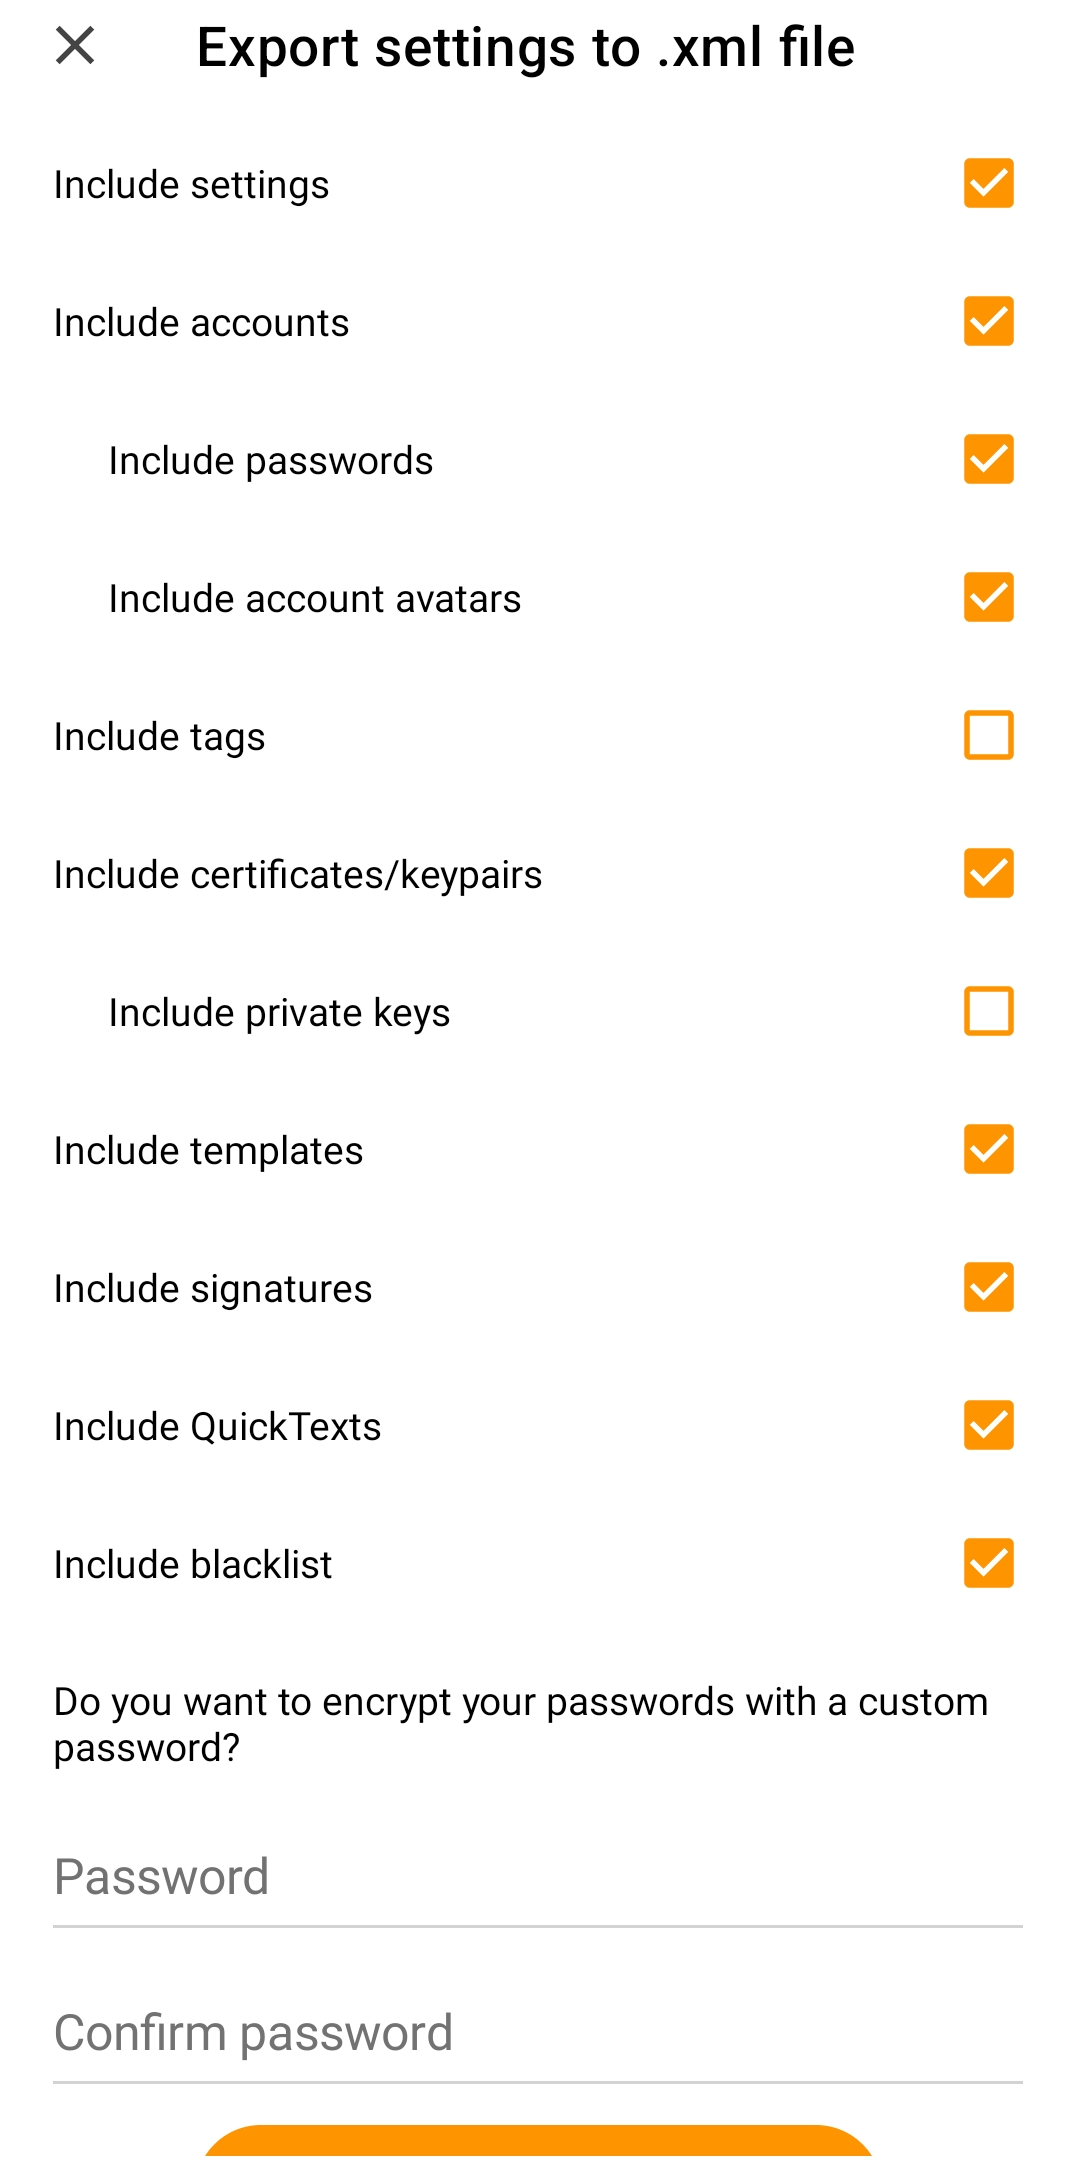 eM Client mobile: Select settings for .xml export
Note: If you include your account passwords, we recommend password-protecting the exported file.
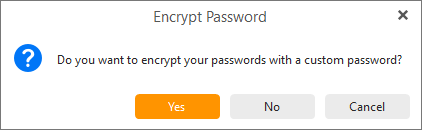 eM Client desktop: Encrypt password
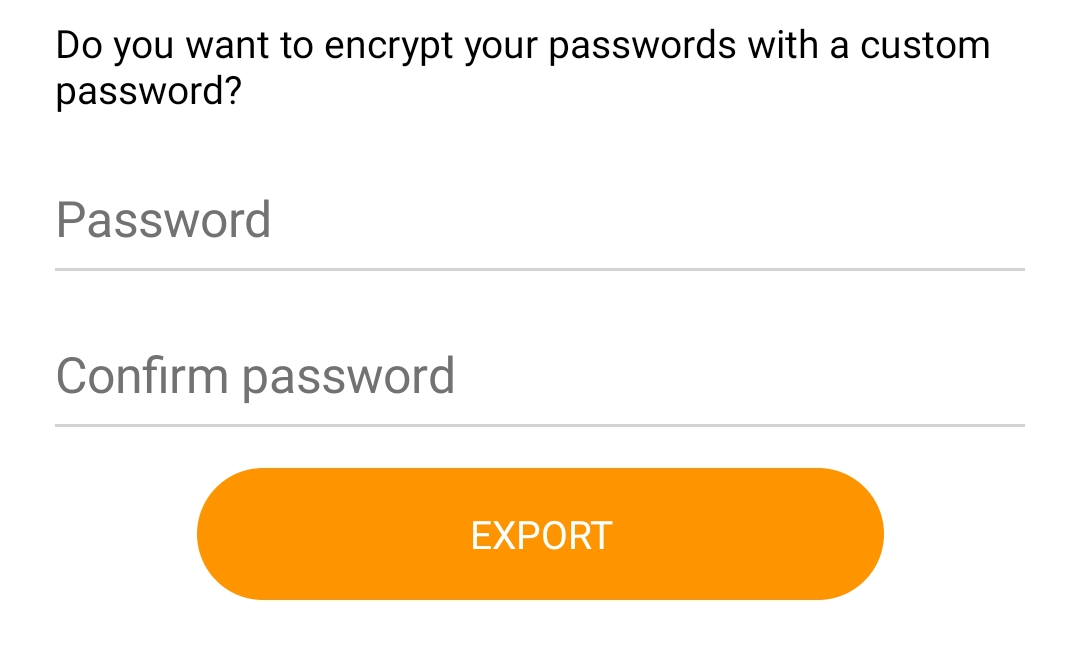 eM Client mobile: Encrypt password
- Select a destination file on your device.
- Click Finish (on desktop) or the confirm button (on mobile).
- Move the exported .xml file to the device you want to import it to - you can use an external hard drive, flash disk, Cloud storage, messaging app, etc.
If you’re importing to the
desktop app,
continue here.
If you're importing to the
mobile app,
continue here.
Import settings to the eM Client Desktop app via .xml file
- Make sure eM Client is installed on the other desktop device.
You can download it from our Release history page, including older versions.
- Use Menu > File > Import (Windows) or File > Import (macOS).
- The Import window will open. Choose eM Client Settings (.xml).
- Select the file for Import and click Finish.
- Let the process complete.
Import settings in the eM Client mobile app via .xml file
- Go to Settings > Import/Export.
- Select the Import settings from file option:
- Select the file for Import on your device.
- Select which specific accounts or settings you want to import, enable or disable push notifications, and confirm the import:
- Let the process complete.
Manual database move
The last option for moving your data involves moving the entire database folder.
- Check your database location in Settings > General > Storage.
Unless you changed it, the default location of your database is:
Windows: C:\Users\yourUsername\AppData\Roaming\eM Client
macOS: /Users/yourUsername/Library/Application Support/eM Client
- Before moving the database, make sure that eM Client is turned off and that no processes are running - double-check this in the Windows Task Manager (Windows) or Activity Monitor (macOS).
- Bring over the folder with the database manually to your new device (using external drive, USB, …). Use the same default location if you want it to start automatically.
Important: Remember that it is imperative not to move the database if eM Client is still running. If this process is attempted while eM Client is running, the database could become corrupt, and your data could be lost. Always ensure you move the entire database, don’t remove any files or change them in any way - this could make the data unreadable for the eM Client app.
- Run the eM Client app - all your settings and data will be there.
Don’t forget - reactivate your license!
After you complete the move to a new desktop device, don’t forget to reactivate your license to keep using eM Client. The Deactivate/Activate option is available in Menu > Help > License (Windows) or Help > License (macOS).
Can’t find your license key? Have it resent via our Lost Activation Key page.
The eM Client mobile app currently does not require a license.
Data migration can be a less exciting part of getting a new device - with eM Client, the process can be quick and hassle-free. And if you get stuck? You can always reach out to our support team.
New to eM Client?
Try it out! It's free and fabulous.
If you’re ready for more, buy Personal or Business
license and enjoy:
And in the meantime, check out our YouTube channel for how-to videos.