With most communication taking place electronically, many computer users have to deal with a large amount of email data that needs to be stored, organized, and occasionally shared with colleagues. Although having all of our data in one place is convenient, there are times when we might appreciate a way to split the data into parts – to store some of it elsewhere or to quickly share it.
This is where eM Client comes in with another valuable feature – Data Files.
You might be familiar with the way eM Client stores its data—all the user settings, emails, and other data are saved in a single eM Client SQLite Database. This allows everything to be connected and improves features like search, communication history, and such.
In this article, we will explain how the Data Files feature works and how this useful feature can assist you with your eM Client data management.
What are eM Client Data Files?
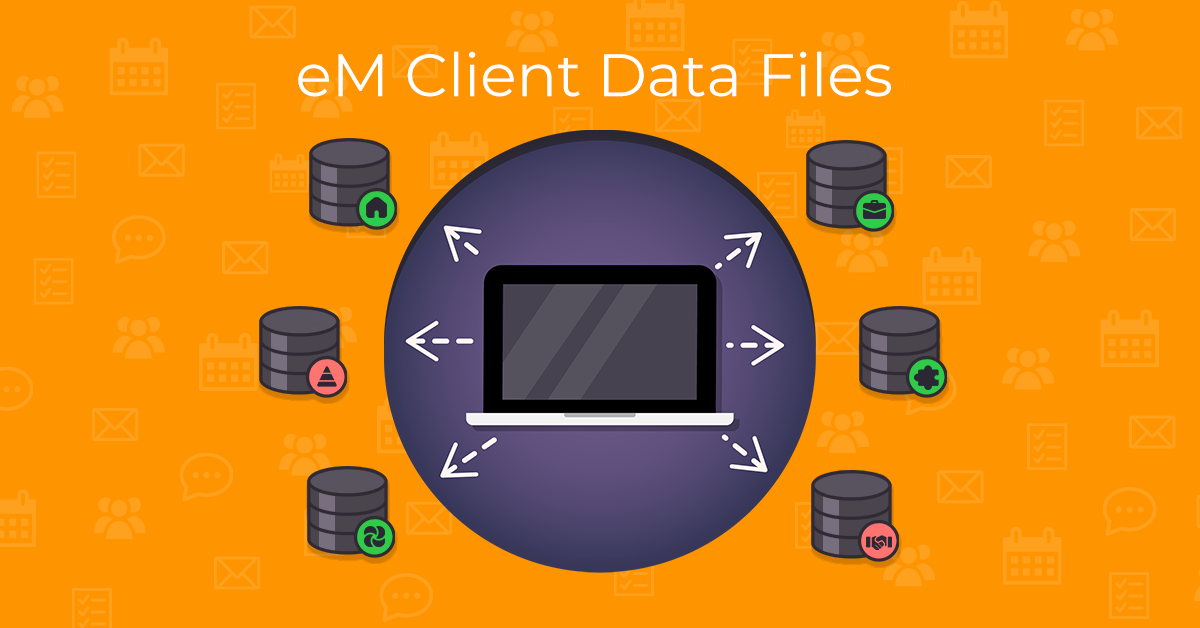
Data Files are separate mini-databases that allow you to split off some of your data and save it on your local drive or external drive. The Data Files have a custom eM Client file format – EMDF (eM Client Data file).
But that does not mean your data gets locked; anything that you could export from your main database can also be exported from Data Files via eM Client.
Now comes the fun part: you can connect and access Data Files only when you need them by using the mount/unmount feature.
Would you like to keep your old email archive from two years ago out of sight and out of mind? You can create a new data file that will only contain the emails from that year, and unmount that data file. This way, the app will not comb through all of your old data, making your searches faster and free from irrelevant results.
Not only can Data Files be moved to a different location, but they can also be comfortably shared with others, so they can quickly mount the file into their eM Client app. That way, whole folder structures and emails they contain can be shared easily.
So, in case you need to hand over a whole project with all its related email communication to your colleague, you can do so by creating a data file and sharing it with them. The same can be done if a person is leaving the company and wants to share all of their emails with their replacement without much hassle.
Note: As with any data, it's always a good practice to store your Data Files in a safe location and only share them via a secure cloud service or as a password-protected ZIP file.
EMDF files versus PST files
As we already mentioned, EMDF files are a custom eM Client file format. EMDF files are eM Client's response to use cases covered by the commonly known PST files, a proprietary file created by Microsoft. They allow users to sort data and only mount it in the app when needed. While the use of EMDF files is similar to PST files, they do not share the often-cited pain points of PST files.
EMDF data files offer improved stability – unlike PST files, they are not as easily corrupted. They also have no size limitations, so you can split your data when you want to, not when you run out of space.
How to create Data Files in eM Client
To create a new Data File, head to Menu > Data Files (on Windows) or eM Client > Data Files (on macOS).
There you will find the Data Files Manager section. Click on "+ Create Data File" to create a new empty Data File:
A dialogue window will open, where you can select the location of your new Data File and its name:
After you have chosen the file location and named the file, click the "Save" button.
Now that you have created your Data File, you can change its Display name, so it's easier to find among your other Data Files:
The avatar of each Data File can be customized by clicking on the avatar and then either selecting from the predefined eM Client avatars or uploading your own image:
Click the Save & Close button to apply your changes:
You will now find your newly created Data File displayed in the left panel, right under all of your email accounts, and above the Archive and Local Folders:
As you can see, the new Data File doesn't show any data – let's create a new folder in which we can later copy or move data to.
By right-clicking the Data File, a drop-down menu will open. It allows you to rename the Data File, add new folders, Show/Hide folders, and quickly unmount the Data File, among other options:
Add a new folder, set it to be located under your new Data File, and choose its name and the type of items it will contain:
Now you can copy or move emails or other data to the new folder, set up Rules to sort certain emails into this folder automatically, and unmount or mount the Data File as needed.
We already mentioned PST files – when you mount PST files from your old Microsoft Outlook, the eM Client app will copy data from the PST file and convert it into the EMDF format. Then it will mount the new file. The EMDF file will be saved in the same location as the original PST file.
You can also mount and unmount files via the Data Files Manager section.
To quickly mount a Data File, you can drag & drop the file anywhere into your eM Client app's left panel, which will automatically mount the file and display it under your Data Files section.
How to Import Outlook PST and OST files as Data Files
Importing an Outlook file as a Data File allows you to choose which specific folders you wish to import. A new EMDF file will be created in the process.
If you would like to import a PST (or OST) file as a Data File head to Menu > File > Import (on Windows) or File > Import (on macOS) and select "Outlook Data File (.pst, .ost)".
If you have the Outlook app installed, the file path will be set to your local Microsoft Outlook AppData folder by default. If you do not have the Outlook app installed or you want to import the file from a different location, click "Select file...":
Once a dialog window opens, find the file you wish to import and click "Open".
Back in the eM Client, proceed by clicking the "Next" button.
Now you can unselect any folders you do not wish to import, then click "Next" again:
And finally, you can set the data to be imported to a newly created Data File:
After you select the location of the newly created EMDF file, click the "Finish" button, let the import proceed, and then click the "Ok" button - you will then find the imported data in the location you selected.
How to Export Data into Data Files
To export your data into a new Data File, go to Menu > File > Export (on Windows) or File > Export (on macOS) and select "Export emails to .emdf file":
Choose which folders you wish to export, or tick the "Check all" checkbox to select all of your data:
Pick where you want your new Data File to be saved, and when a dialog window opens, name the new file and click "Save".
In the eM Client app window, click "Finish":
Wait for the exporting to finish and then click the "Ok" button.
Now that your data is exported to your selected location, you can safely store it for later, mount it back into the app, or share it with others.
EMDF files can also be imported back into your folders. You can do so via Menu > File > Import (on Windows) or File > Import (on macOS) – select the "eM Client Data File(.emdf)" option.
The way we handle and store our email data is always based on personal preference – and there are almost unlimited methods to choose from. eM Client provides diverse features for smooth and secure data management and sharing, including Data Files. Whether you prefer to rely on Archiving or you want to split your data to store it locally or backup on a cloud server, with eM Client, you do not have to compromise on the options.
New to eM Client?
Try it out! It's free and fabulous.
If you’re ready for more, buy Personal or Business
license and enjoy:
And in the meantime, check out our YouTube channel for how-to videos.