When setting up a new account, you can choose from several options:
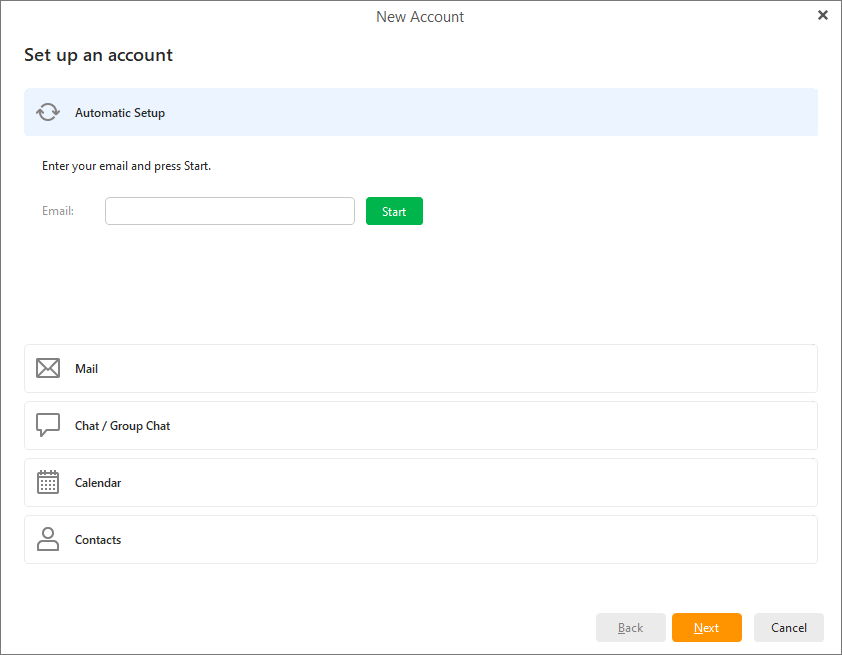
- Automatic setup - In most cases eM Client enables you to set up your account automatically with just two simple steps - entering your email address and the password. We strongly recommend using this method of setting up your account unless you possess thorough details about your account's settings. The first step is typing in the email address of your existing email account as well as the account password. The rest of the automatic setup is realized in 3 steps:
- Connecting to standard email servers: eM Client will attempt to automatically retrieve the server settings (this works for the most frequently used email servers i.e. Gmail, Yahoo etc.)
- Auto-discover technology: If eM Client is unsuccessful with the first attempt, it will try to use the so called auto-discover technology, which basically tries to assess the predefined credentials of email servers. This service is fully automatic and it can autonomously detect the settings if the correct email information is provided.
- Predicting less usual email servers: In this case, the application tries to search for access to your account details on the internet, it works on predicting how the address of your email provider is realized. (For example, this service will be utilized in the cases when a private company's email addresses will be prompted to set up.)
If all three services fail you will be prompted to specify the settings manually. Learn more about setting up email manually here.
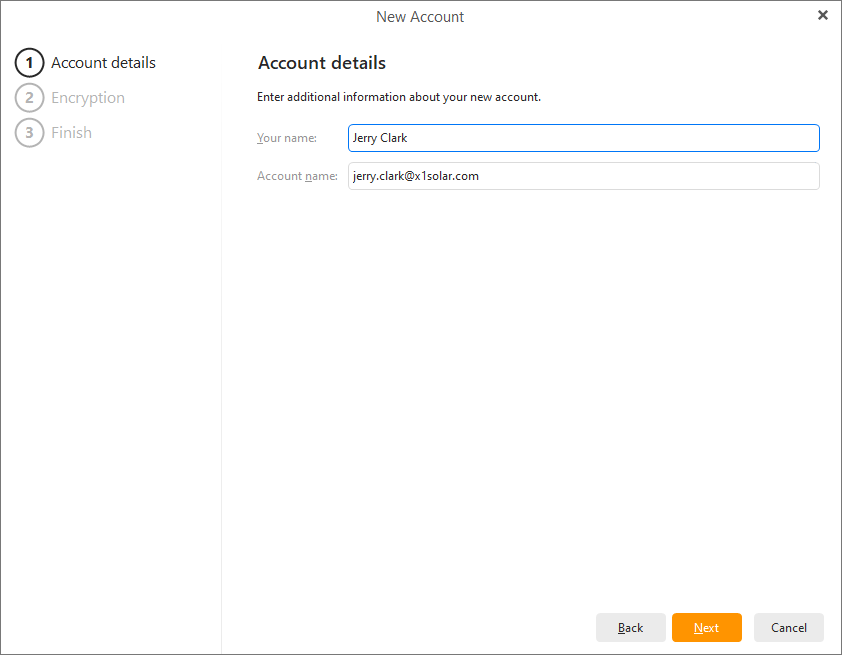
In this dialogue you can enter additional information regarding your new account, such as the account name and the name that you would like to be displayed in the "From" field of your outgoing messages.
Next you’ll be asked if you want to set up PGP encryption for your account. This is an advanced feature which encrypts your emails to provide better security and privacy. If you would like more information on how to set up encryption, you can read about it here. Otherwise, simply click “Continue without encryption” to continue setting up your account.

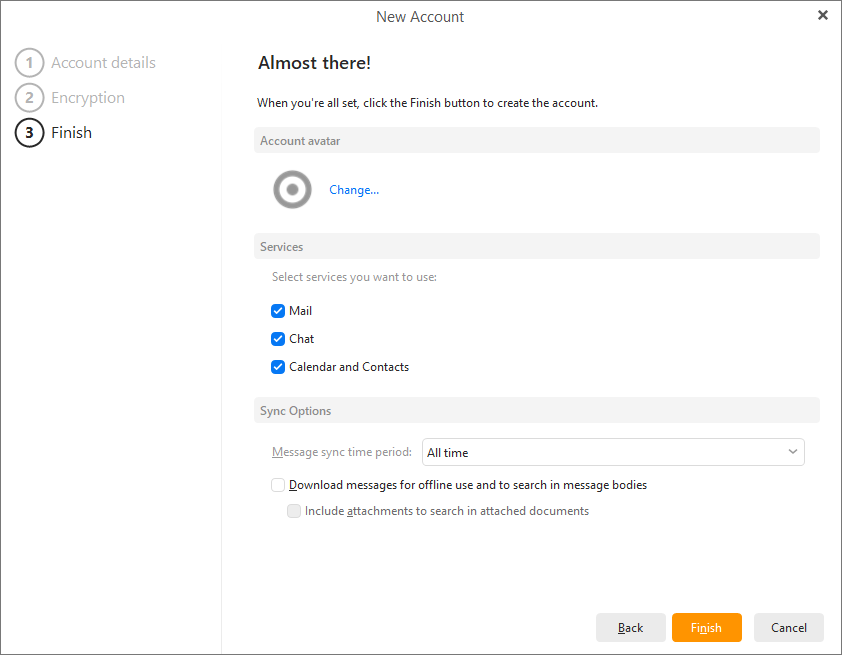
Here you can enable/disable services for this account (Mail, Calendar, Contacts, Chat). These settings can be changed at any time in Menu > Accounts.
Depending on if you chose a POP3, IMAP or Exchange incoming server, the final options will change.
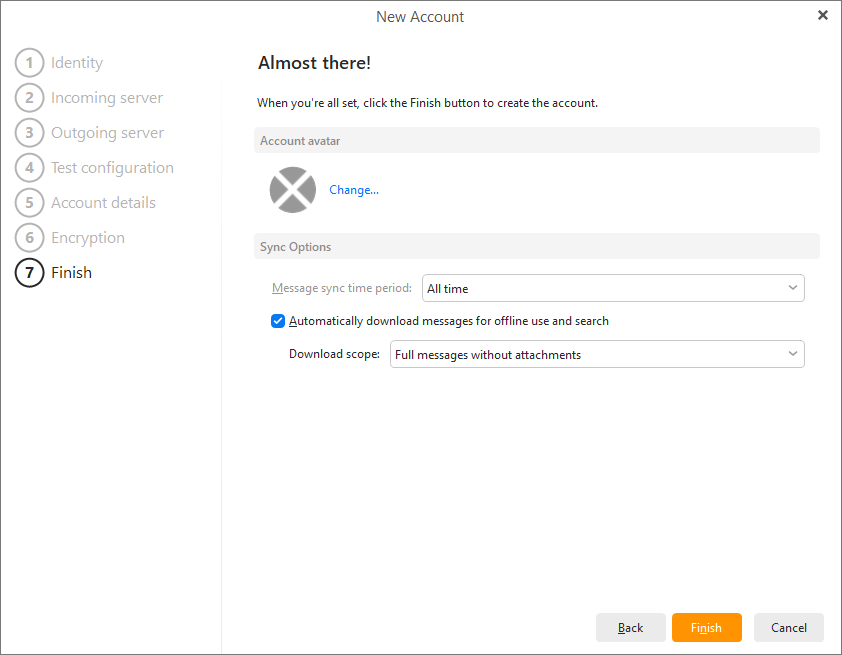
Message sync time period:This setting allows you to synchronize only the newest emails from your server with a custom-set time frame.
The default option is to synchronize messages from All time, which will pose no limit on your messages, all the ones on your server will be synchronized with eM Client.
In case you want to keep only the latest in the app, you can choose from Last 1 day, Last 3 days, Last week, Last 2 weeks, Last month, Last 3 months or Last year.
In case you need to check your older emails, at the end of the message list is a button Load more. It allows you to download some of the older messages or all messages if the need arises.
Download options allow you to choose if you’d like to download messages so you can read your previously received emails even when you’re not connected to the internet (you will still need to reconnect to the internet in order to receive new messages) and you can choose if you’d like the search option to also work for your email attachments.
Finally, you can click on the Finish button to start using the application with your newly added account.
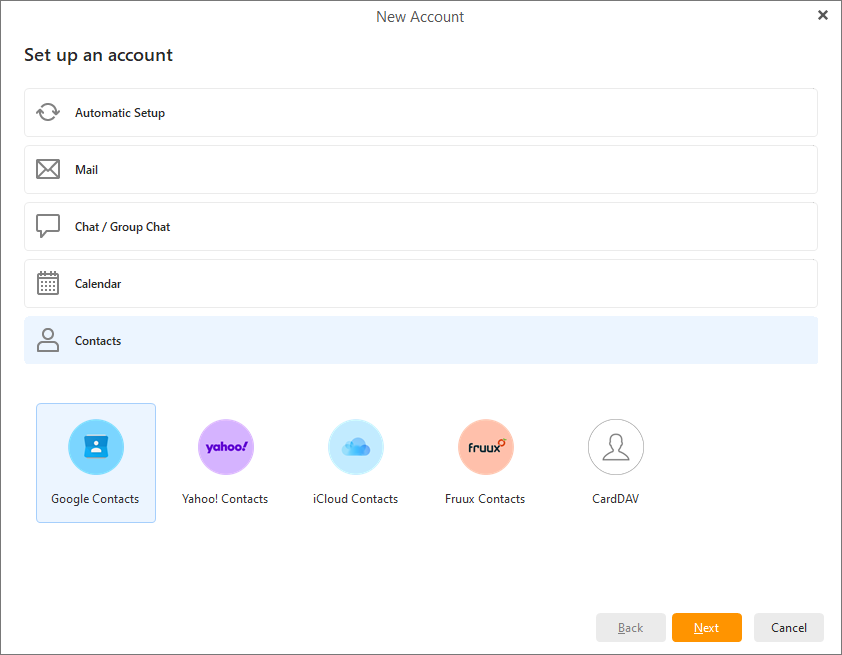
In this section, you can select particular email accounts that you would like to set up. The first five email providers displayed will always be the most used ones in the location where you currently are. These five displayed providers will also always have predefined configuration and their server settings will be retrieved automatically.
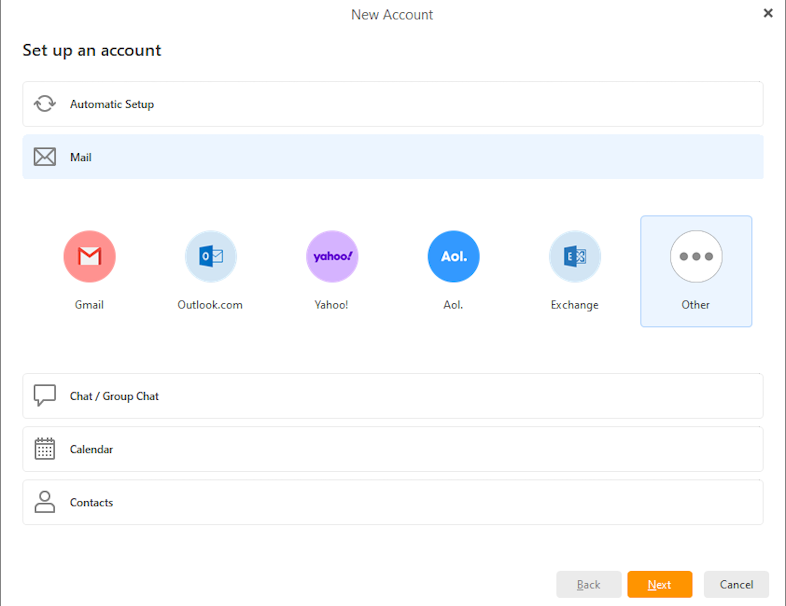
In case the automatic setup didn’t work or your email provider isn’t shown, click on the Other button to manually set up a different email account. In this case, the setup will be a little more complex. It’s performed in seven steps and you will be asked to fill in all the email settings. You can find out your account’s server settings by asking your email provider.
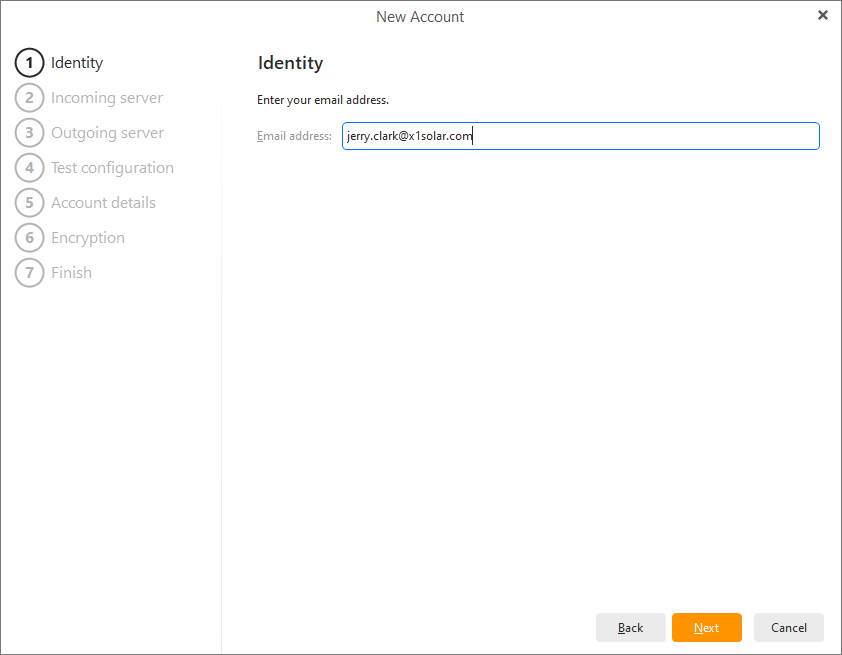
Enter your email address to begin.
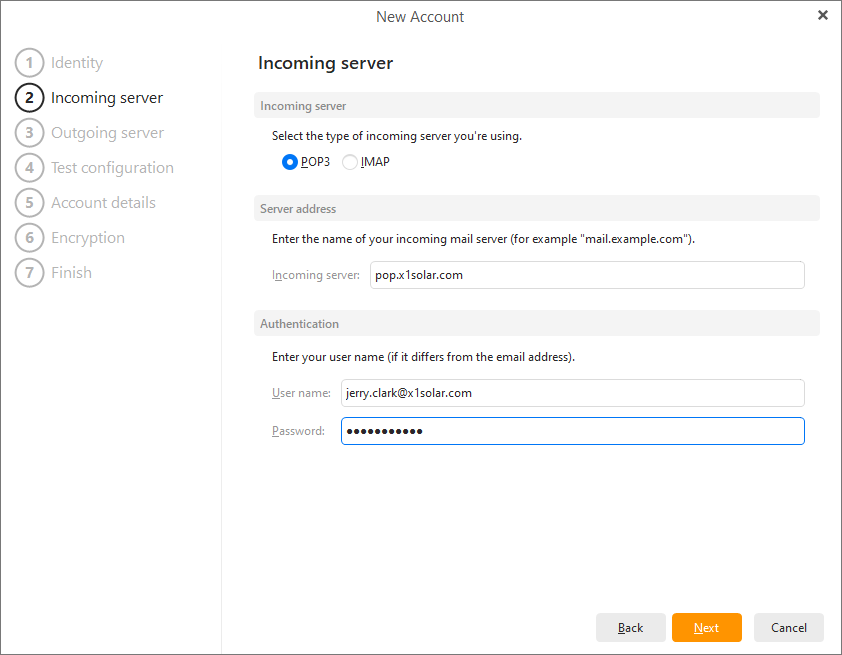
Select if your incoming mail server type should be POP3 or IMAP.
Enter your incoming mail server address.
Enter your username (usually either the whole email address or just the part before the @ sign depending on the provider) and your email account password.
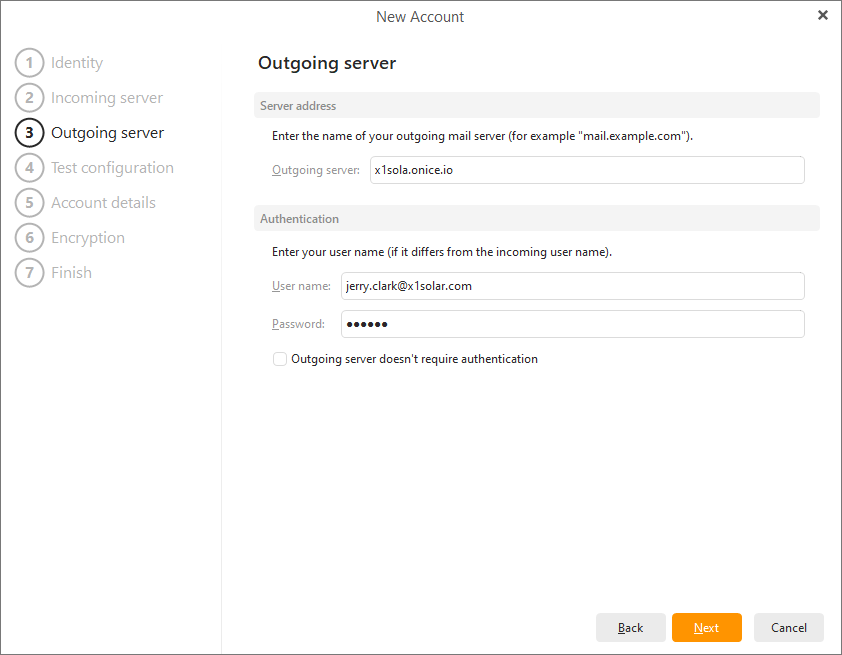
Enter your outgoing mail server address. This section could be prefilled based on what you entered for your incoming mail server, but it's possible that you’ll need to change it to something else depending on the provider.
Your username and password will also be prefilled based on your answers in Step 2. Usually the credentials stay the same.
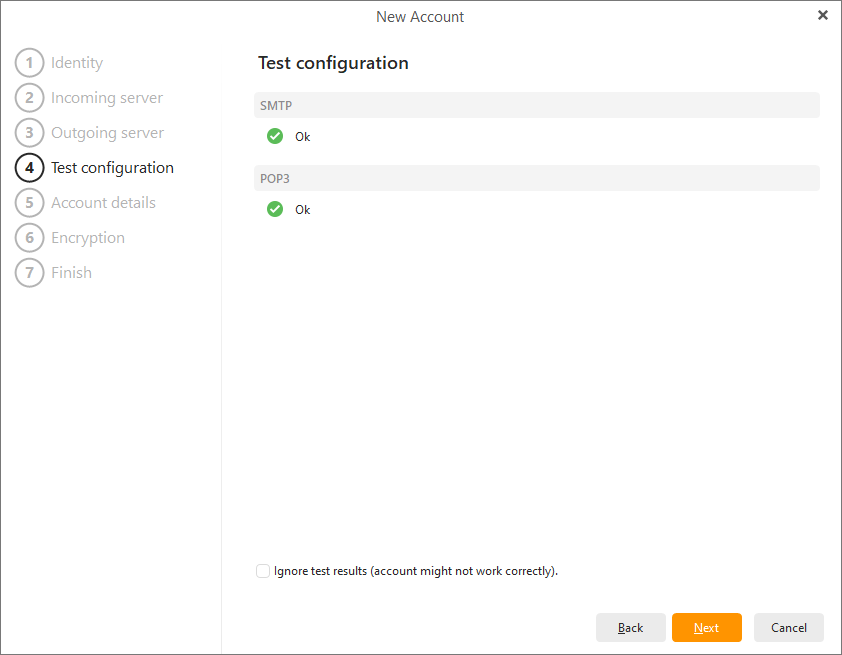
During this step, your configuration will be tested. If your account details were typed in correctly, a green checkmark will appear. If there are some problems with the configuration (for example if your password was not entered correctly), a red cross will be displayed (as you can see in the picture). You can always change your configuration by clicking on the Fix button.
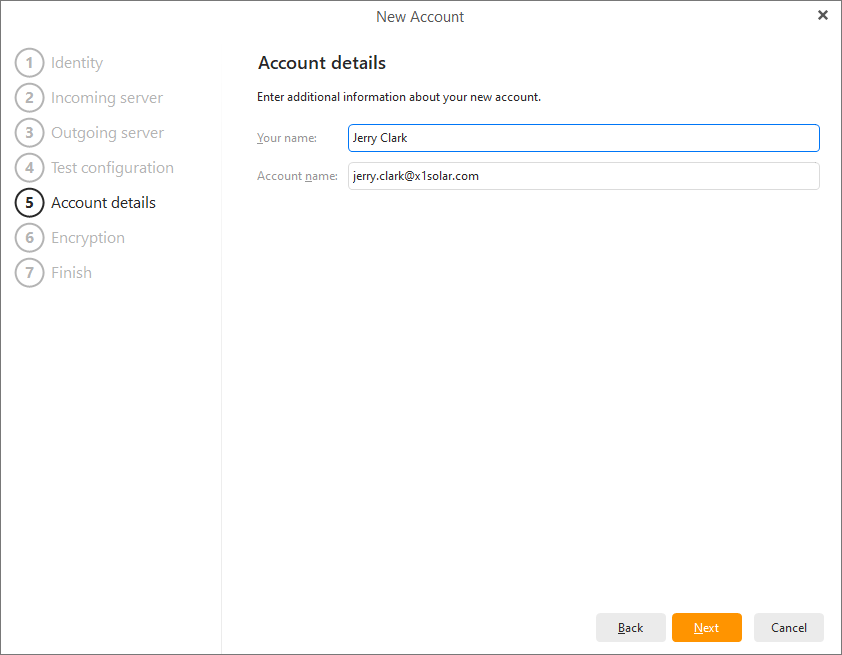
Step 5 - Adding additional information about your new account:
In this dialogue you can enter additional information regarding your new account, such as the account name and the name that you would like to be displayed in the "From" field of your outgoing messages (e.g. [email protected])
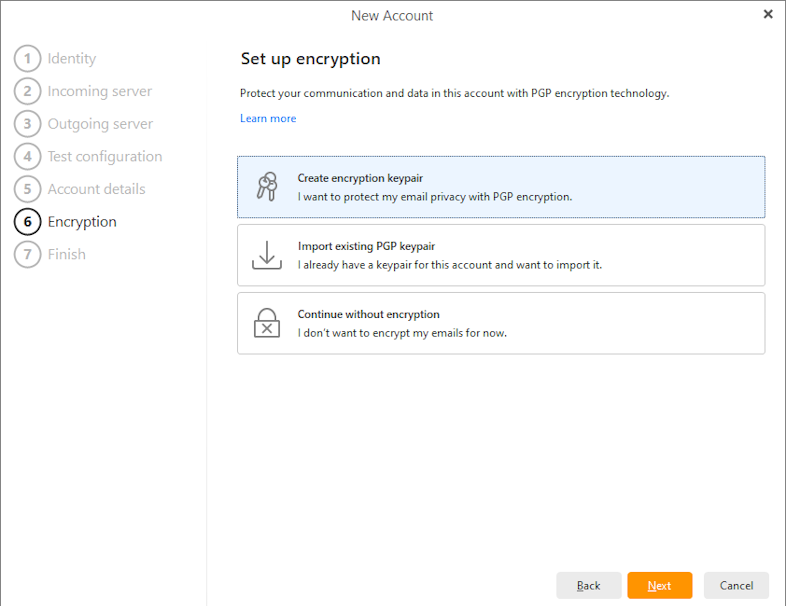
Next you’ll be asked if you want to set up PGP encryption for your account. This is an advanced feature which encrypts your emails to provide better security and privacy. If you would like more information on how to set up encryption, you can read about it here. Otherwise, simply click “Continue without encryption” to continue setting up your account.
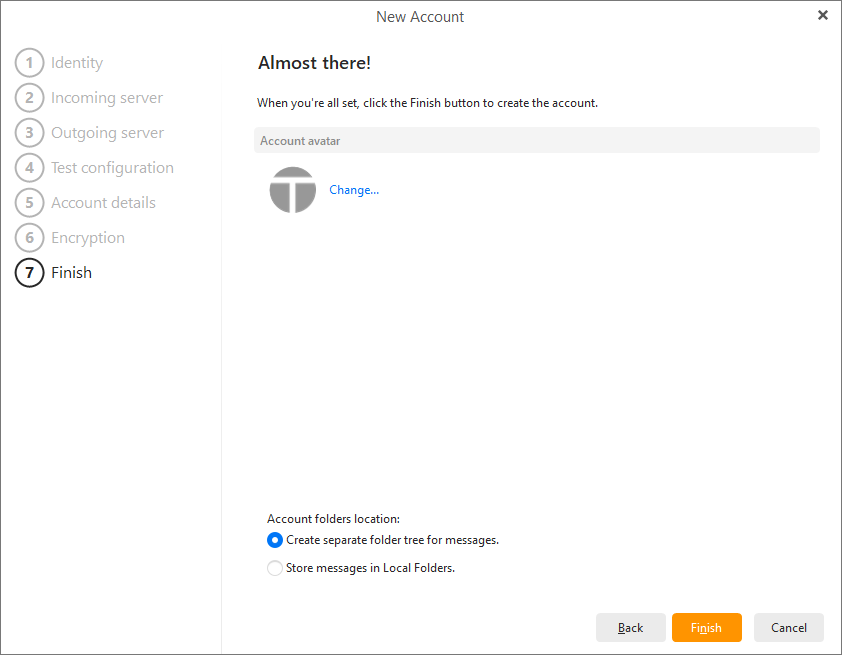
Account avatar - Choose which image you’d like to have to represent your newly added account. You can choose from one of our default avatar images or select your own custom image by uploading it from your computer.
Depending on if you chose a POP3 or IMAP incoming server, the final options will change.
POP3 option:
On this final screen you can specify if you want the application to create a separate folder tree for the messages for your POP3 account, or if the messages should be stored in Local Folders.
IMAP option:
Sync Options allows you to choose if you’d like to download messages so you can read your previously received emails even when you’re not connected to the internet (you will still need to reconnect to the internet in order to receive new messages) and you can choose if you’d like the search option to work for your email attachments.
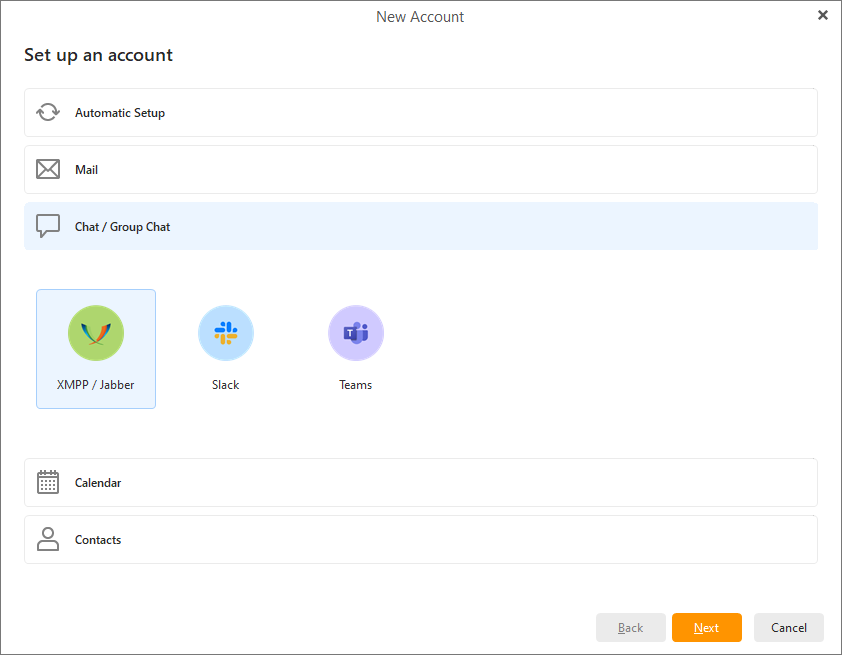
Here you can add a XMPP/Jabberchat, Slack, MS Teams or rocket.chat account.
For exact steps, go to the Add a Chat account section.
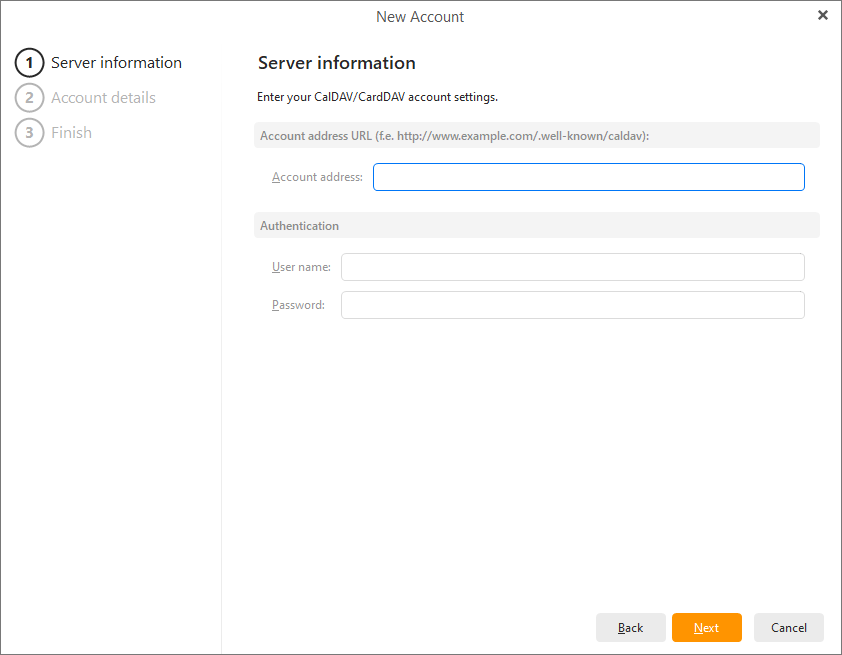
CalDAV is a calendar sharing service and CardDAV allows you to share your contacts. In order to set up a CalDAV / CardDAV account, you first have to have a CalDAV / CardDAV account on your mail server (e.g. IceWarp eMail server).
Enter the account name, password and its internet location, and you are done!
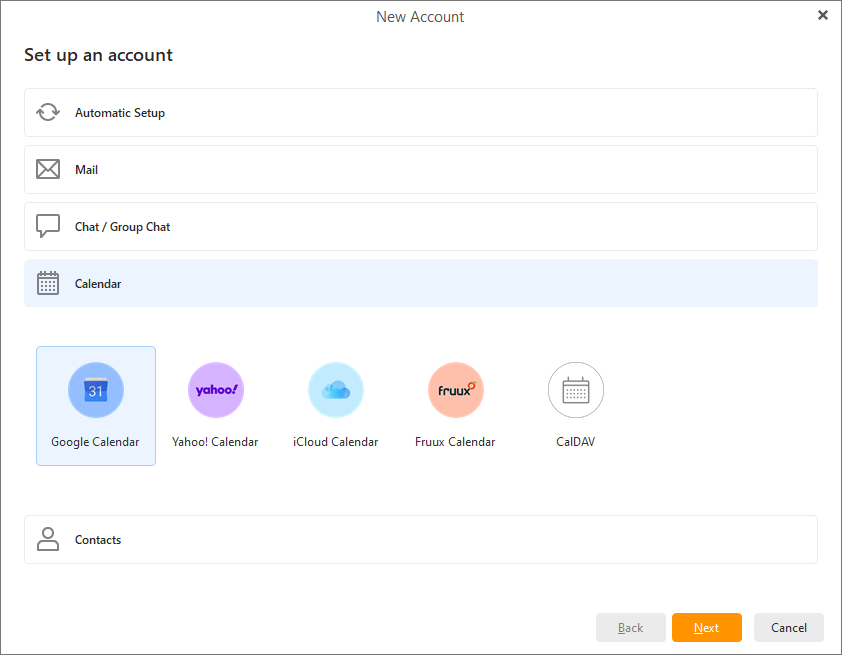
Here you can set up synchronization with your Google contacts, Yahoo contacts, iCloud Contacts and Fruux Contacts. Please note that, in the case of Google, it's Google's native technology, whereas in the case of Yahoo and others, this service works on CardDAV technology.