In this day and age, email has overtaken the copy machine, the notice board, and memo slips to become the main mode of communication in the corporate environment. With various departments passing on orders, counter requests, and memos, the daily email traffic in a large company can easily run into the hundreds. Or if you are a person like me, that has interactions with my Facebook friends, bosses, colleagues and parents all converging in my Inbox, then you would need something to help compartmentalize your emails. You would need Rule based filtering.
Rules are special logical statements that can be used as guidelines for the application to separate your incoming emails into different groups. For instance you can make a rule like "All emails from your friend Bob go to a special folder called 'Bob's emails'" or "All emails from the accounting department with the Keyword 'weekly report' in the subject to go to the folder 'weekly accounting report.'" All you have to do is to make those two rules and apply them, and all the emails from Bob and all weekly accounting reports will be taken out of your Inbox and put into their respective folders.
You can create and manage your rules by selecting Menu > Rules...
You can make a new rule, modify or remove the existing ones. You can also change the priority of rules and apply rules...
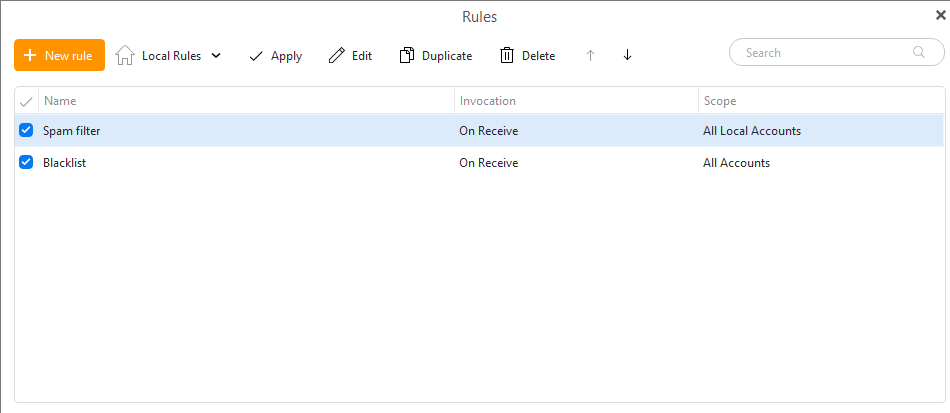
In the window you can see a list of your rules, their names, when they are to be invoked and on which accounts.
There are two types of Rules in eM Client: Local and Server-side rules.
Local rules are only applied when eM Client is running, and the changes are only synced to the server once eM Client is connected to the internet.
Therefore, if you set up a local rule "After a message has been received from [email protected], move to folder "Bob's emails" then this rule will only be applied once you check your email in eM Client. It will not be applied if the eM Client application is closed and you check your email via webmail instead. Local rules are usually applied directly after an email has been received/sent, but you can apply Local rules to old emails at any time in eM Client by clicking the Apply button within the rules window, or by right-clicking an email folder and selecting “Apply rule”.
There is a pre-made Local rule in eM Client, Spam filter - This is the default SPAM filtering rule that takes suspicious messages and moves them to a Junk folder. This rule cannot be altered but can be turned off.
Currently available for Exchange/Office 365, IceWarp and Google/Gmail mail servers
Server side rules are applied directly on the mail server. This means that the server rules you create in eM Client will show up and be applied in other places where you check the email, such as webmail or your phone. The available rule creation templates are fewer for server side rules (such as not being able to set a rule for when an email is sent) because of the limitations of the providers’ APIs. Additionally, there are some rule conditions available from servers that aren’t supported yet by eM Client’s UI. This doesn’t mean that the rule won’t be applied, it just means that you won’t be able to edit the conditions of that rule within eM Client. Finally, it’s important to know that server side rules are only applied on incoming messages. It’s not possible to apply a server side rule on old messages within eM Client. Running server rules on old messages must be done within your webmail.
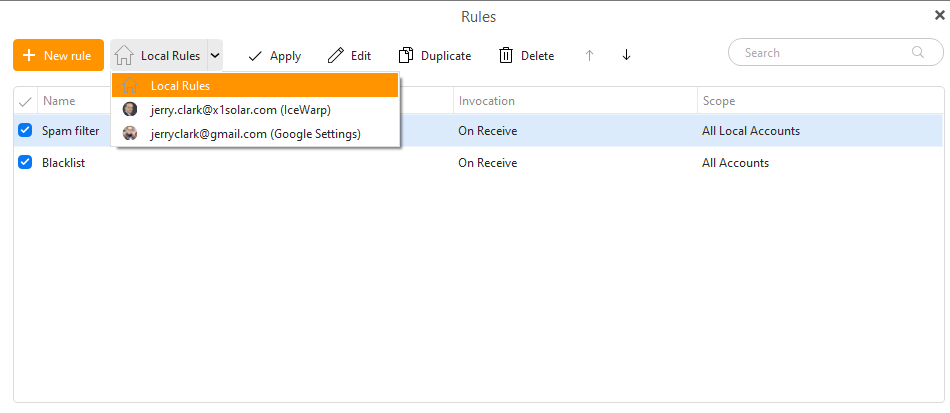
You can switch between your lists of Local and Server side rules (if available) by clicking on the drop-down menu next to the + New rule button. If this drop-down menu isn’t available, that means that you haven’t added a mail account which supports server side rules in eM Client.
You can edit rules by selecting the rule and clicking the Edit button. The edit window is the same as the rule creation window you see when you create new rules - you can define conditions, actions and exceptions.
Use the Duplicate button to create a copy of an existing rule. This can be helpful when creating a lot of similar rules - perhaps you just need to change who the rule is from or where to move it. This way you can create copies quickly and then just tweak the details.
You can also use Ctrl + C keyboard shortcut to copy a certain rule and then Ctrl + V to paste the copy of the rule - this can be used for copying rules among different account rules.
Removing the rules is quite easy - just select the rule from the list and click Delete.
Just select the rule in the list and click Move up or Move down.